HomeBlogBlogSuction Cup Soap Dish: No-Drill Drainage Holder Guide

Suction Cup Soap Dish: No-Drill Drainage Holder Guide

Suction Cup Soap Dish: No-Drill Drainage Holder Guide

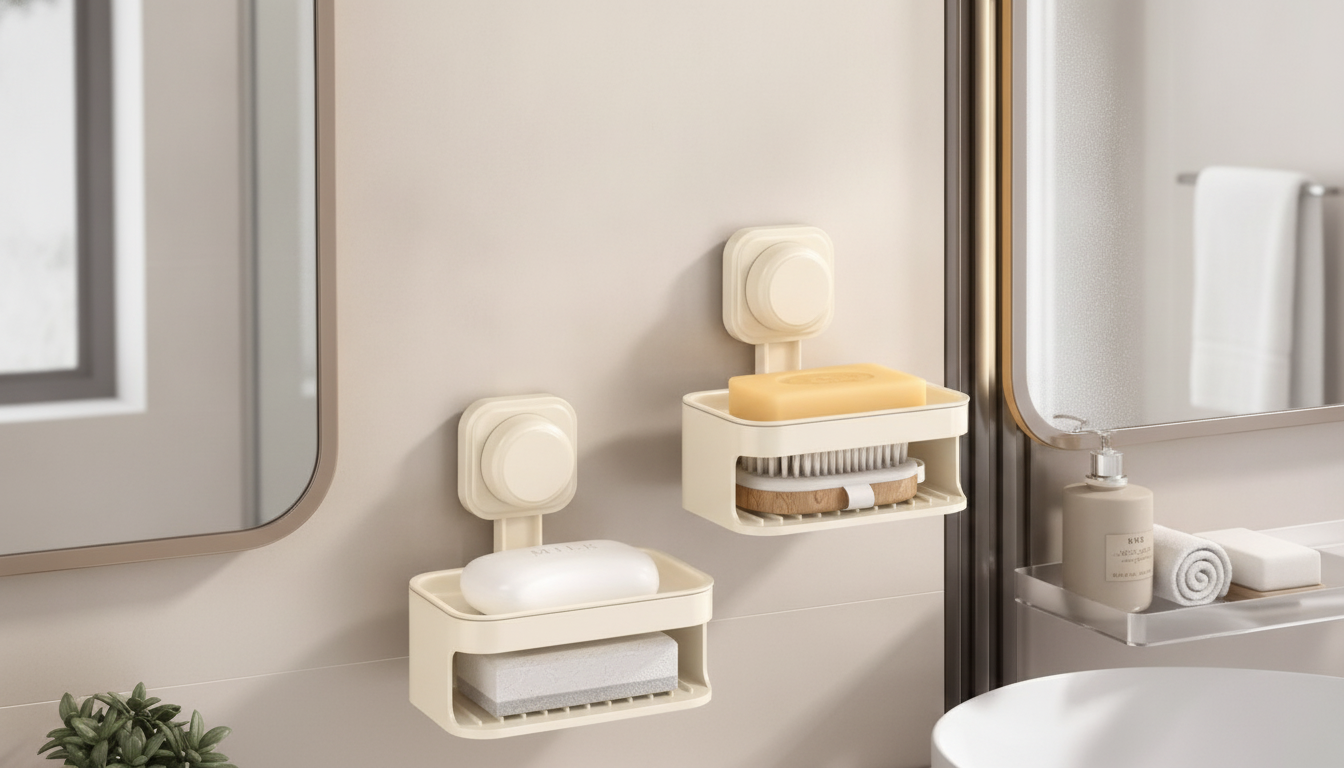
Non-Drill Wall Mounted Soap Dish with Suction Cup & Drainage Holder

A soap dish that mounts without tools can keep bars dry, reduce sink clutter, and avoid wall damage—especially in rentals, dorms, and small bathrooms. A suction-mounted design is also easy to move when you rearrange a shower caddy, switch soaps, or deep-clean the space. Below is a practical guide to where suction mounting holds best, how to install it for a stronger seal, and why a drainage-style holder can help a bar last longer between replacements.

What It Is and When It Helps Most

A non-drill wall mounted soap dish is designed to stick to smooth surfaces without screws or permanent adhesive. Instead of committing to holes in tile or drywall, you get a removable setup that can be repositioned as needed.

  • Non-drill wall mounting: avoids tools, anchors, and wall damage.
  • Suction cup support: aims to provide a firm hold while staying removable.
  • Drainage-focused holder: elevates the bar so water drips away instead of pooling underneath.
  • Useful for: bathrooms, showers (outside direct spray), kitchen sinks, RVs, dorm rooms, and rental apartments.

If you prefer bar soap for everyday handwashing, pairing cleaner storage with consistent hygiene habits matters. For background on effective hand hygiene, see guidance from the CDC and the World Health Organization.

Where Suction Mounting Works (and Where It Doesn’t)

Suction mounting depends on forming an airtight seal. If air can sneak in around the edge, the cup slowly loses grip—especially under weight or frequent water exposure.

  • Best surfaces: glossy tile, glass, mirrors, polished stone, smooth metal, and sealed acrylic panels.
  • Avoid: matte/porous tile, raw wood, textured paint, grout lines, and uneven surfaces (air leaks weaken suction).
  • Humidity note: suction can hold well in humid rooms, but only when the surface is clean and fully sealed.
  • Placement tip: choose a spot that stays relatively dry between uses to reduce constant water exposure on the suction edge.

Installation Steps for a Strong Hold (No Tools Needed)

The biggest difference between “it keeps falling” and “it stays put” is usually prep. Take a couple extra minutes and the hold tends to improve dramatically.

  1. Clean the surface: wash with mild soap, rinse well, then wipe with isopropyl alcohol to remove oils and residue.
  2. Dry completely: moisture between suction and wall can create micro-gaps that cause slow slipping.
  3. Warm the suction cup (optional): briefly rinse with warm water to make it more pliable; dry the wall before pressing it on.
  4. Press and lock: press firmly from the center outward to push out air; apply steady pressure for 20–30 seconds.
  5. Wait before loading: allow 30–60 minutes before placing a wet soap bar to improve adhesion stability.
  6. Repositioning: remove by lifting an edge to break the seal; avoid yanking straight outward.

How Drainage Helps Soap Last Longer

Soap left in a puddle stays soft, turns mushy, and breaks down faster. A drainage holder helps in two ways: it lets water drip away and increases airflow around the bar so it can firm up between uses.

  • Standing water softens bars: pooled water speeds wear and causes breakage.
  • Elevated holder design: encourages drip-dry storage rather than soaking.
  • Less residue buildup: drier storage can reduce slime and soap scum around the dish.
  • Practical routine: rinse the dish weekly to keep drain paths clear and maintain a cleaner look.

Everyday Use Tips (Bathroom and Kitchen)

Small placement changes can make suction more reliable and keep the soap drier.

  • Shower placement: mount away from direct spray to reduce constant water pressure and help the bar dry faster.
  • Sink placement: install near the faucet, but not where splashing constantly hits the suction edge.
  • Shared spaces: consider one holder per bar (hand soap vs. face soap) to reduce cross-contact and mess.
  • Bar size: trim oversized bars if needed so the soap sits securely and doesn’t overhang too far.

Suction vs. Adhesive vs. Drilled Mounts

All three mounting styles can work—choosing quickly comes down to surface type first, expected load second, and how often you plan to move the holder.

Mounting Options at a Glance

Mount Type Best For Pros Trade-Offs
Suction cup Smooth tile, glass, mirror, sealed surfaces No holes, easy to reposition, quick install May slip on textured/porous walls; needs clean, dry prep
Adhesive mount Painted walls (depending on adhesive), some tiles Often stronger than suction; low profile Can leave residue; removal may damage paint or finish
Drilled bracket Any wall with anchors/structure Most stable for heavier loads; long-term setup Permanent holes; tools and time required

Maintenance and Cleaning

Regular cleaning keeps drainage working and helps suction maintain a better seal over time.

Troubleshooting: If It Slides, Falls, or Won’t Stick

Product Picks (In Stock)

FAQ

Will a suction cup soap dish stick to textured tile?

Usually not reliably. Suction needs an airtight seal, and textured or porous tile (plus grout lines) often lets air seep in; glossy tile or glass tends to hold much better.

How do you make a suction cup holder stick better in a bathroom?

Clean the mounting area with soap and water, finish with isopropyl alcohol, and dry fully. Press firmly to push out air (warming the cup can help), then wait 30–60 minutes before adding a wet bar.

How often should a draining soap dish be cleaned?

A quick weekly rinse helps keep drain paths open and reduces residue buildup. Do a deeper clean as needed if you notice soap scum, slime, or slow drainage.

Was this article helpful?

Yes No
Leave a comment
Top

Shopping cart

×